In the realm of party décor, balloon garlands have become the ultimate statement piece. Our organic garlands, in various shapes and sizes can transform any space, all while creating a focal point for photos.
While for some, this may seem like a daunting DIY project, I’m here to reveal the secret. Come in closer…. Crafting balloon garlands is easier than you think and I’m going to show you how! Whether you love them of are frightened by the thought, I’m here to put you at ease.
Our DIY balloon kits come with all the supplies you need to create a stunning balloon garland. We included a variety of sizes, balloon strings (also known as 260 balloons, but for simplicity I will refer to them as balloon strings in this guide), a hand pump (although an electric pump is also suggested), command hooks (for hanging your garland), and an online tutorial for those who may need it, check it out here: https://noelleraeco.com/shop/
5 Easy Steps to Create a DIY Balloon Garland:
Now, let’s break down this process into 5 easy-to-follow steps to creating your beautiful balloon garland!
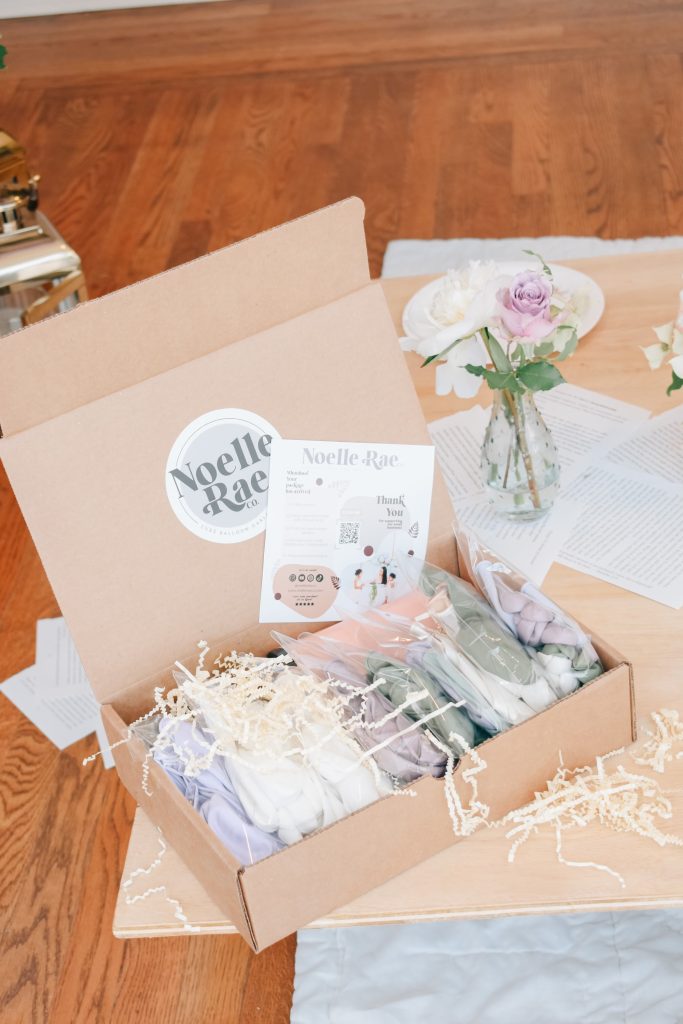
Step 1: Unbox Your Kit
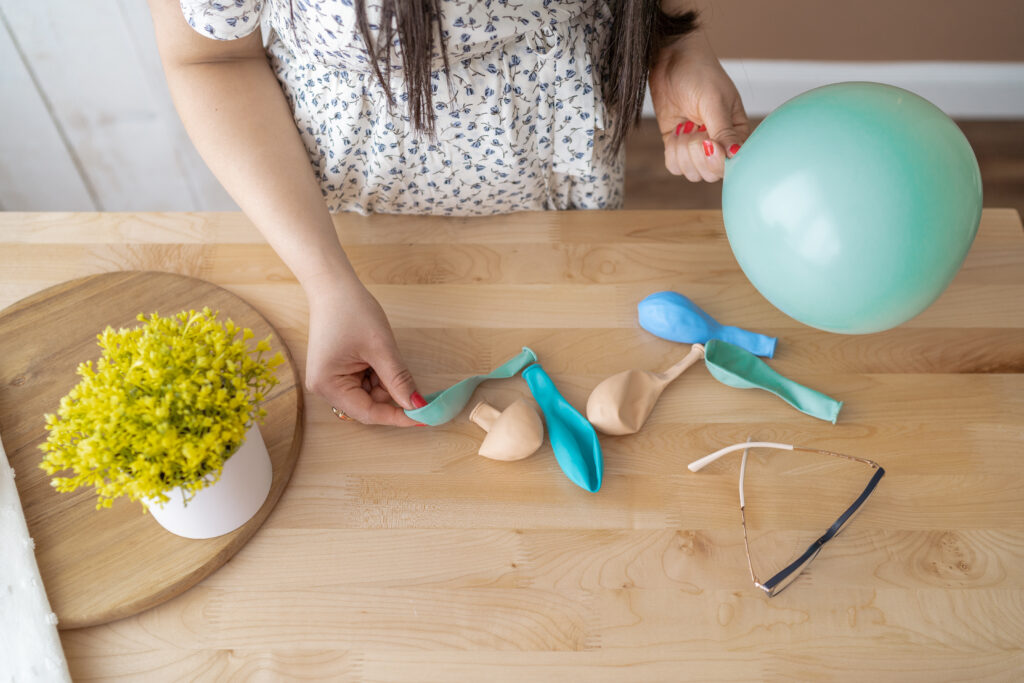
After receiving your kit, lay out all the contents. Decide whether you’d like to mix your balloon colors or color block them. Color blocking is when the same balloon colors are sectioned together in the balloon garland. You’ll find that most of my garlands are color blocked, this is a personal preference. However, feel free to get creative.
Step 2: Make a Quad


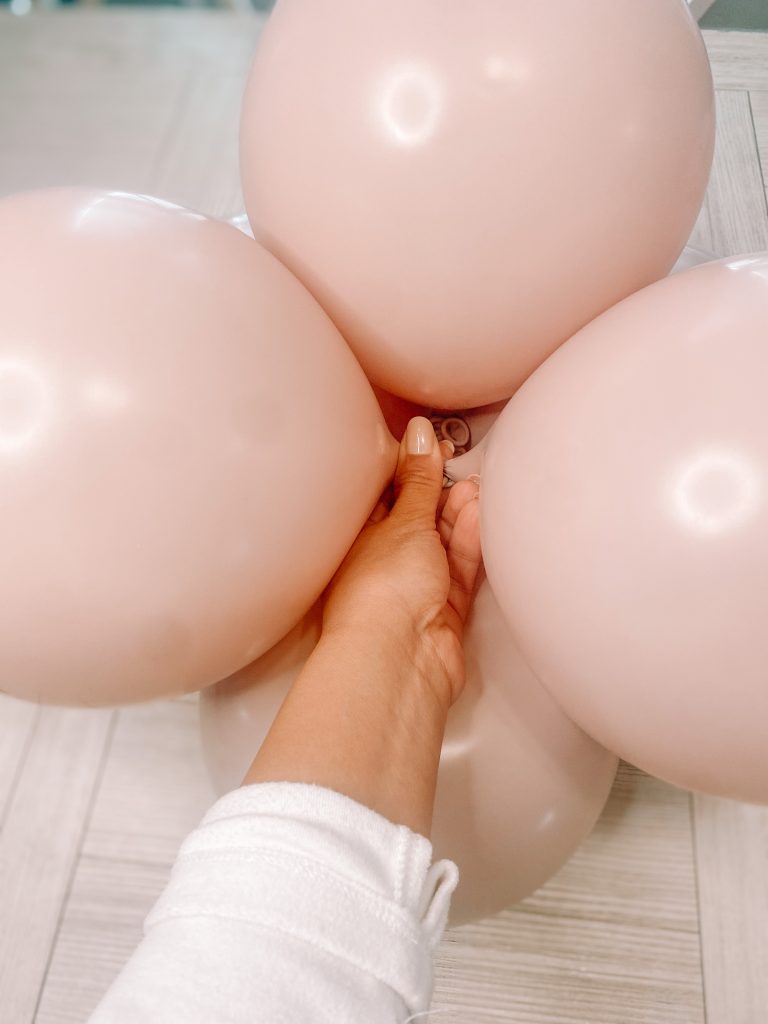
I start by tying two sets of balloons together (also called duplets). I then will intersect both sets of duplets by criss-crossing them. You should now have four balloons together. I secure them together by twisting one over another, locking them in. This will create a quad. Visit my step-by-step balloon garland tutorial video for a closer look. https://youtu.be/U8nSFC75FqA?si=PGrHMgjWUtI7WiWj
I then add to this quad by taking another duplet (remember these are two balloons tied together) and placing them into my quad. I do this by pushing my duplet into the neck of a balloon and twisting it around another balloon to ensure it is secure. I continue doing the for all my balloons in that same color. I then will repeat this same process for another color/section of the garland.
Step 3: Build Your Garland
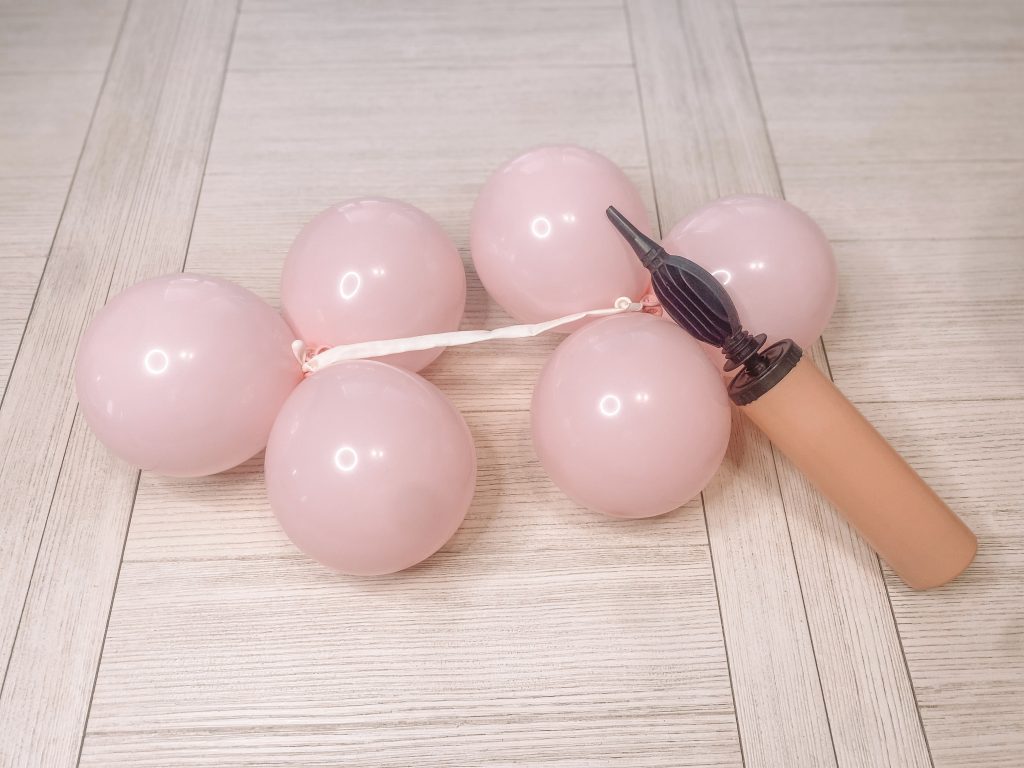
I take a balloon string (aka 260 balloon) and knot it anywhere on my existing balloon cluster, making sure I leave some slack on the balloon string. I then will attach another cluster to the other end of the balloon string by wrapping it around that new cluster multiple times. Repeat this process until you use up all your balloon sections/clusters. You have now made a balloon garland but don’t stop there!
Step 4: Add Your Mini 5″ Balloons (Bring Your Balloon Garland to Life!)
then add in another 5” balloon. Repeat this process until you have two sets of three balloons. Simply, tie a balloon string around one group and then tie the other end of the balloon string around the other group, leaving enough slack in the middle.
Once your balloon garland is up and displayed, I like to add in my 5” mini details where I feel like they’re needed. These mini balloons are perfect to add in size and dimension, including hiding any gaps.
Step 5: Clean Your Balloons
Balloons are notorious for picking up dust and hair. Take a tissue, a Swifter cloth/duster, or a microfiber cloth and gently clean your balloons. Bonus tip: using your inflater to blow off any dust works great too!
Our DIY balloon garlands are for beginners, hassle-free, and convenient for your next event. Creating a stunning balloon garland is easy with these tips and tricks. Elevate your party décor and watch as your event comes to life. Check out our beautiful garlands, https://noelleraeco.com/shop/ . Happy decorating!
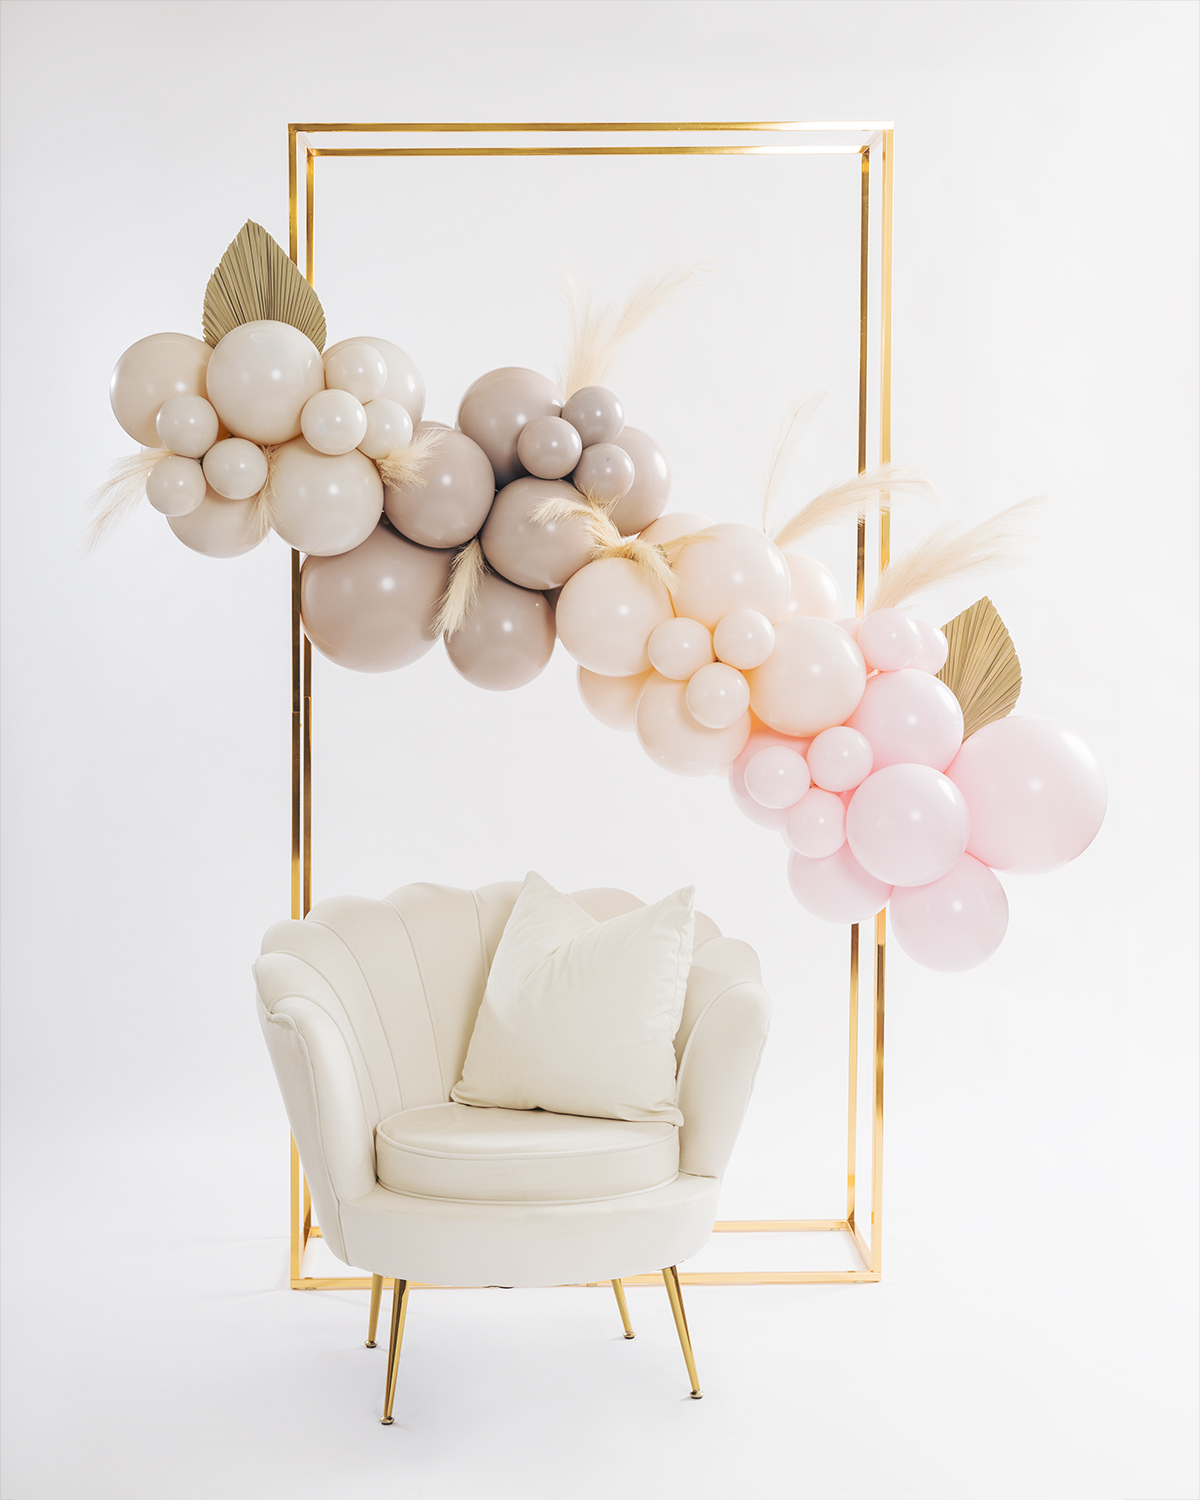
Photo shown is our “We Can Bearly Wait, in Pink” in our 5-6ft (small kit). https://noelleraeco.com/product/we-can-bearly-wait-in-pink/


